Patience pays off.
In the realm of home baking, this no knead Dutch oven bread recipe is a game changer. Imagine a dough that requires barely any hands-on time — no slapping or folding, just simple mixing and waiting. For anyone who’s ever wrestled with sticky dough or fretted over a yeast rise, this method is a breath of fresh air. It’s like the dough does all the hard work while you kick back.
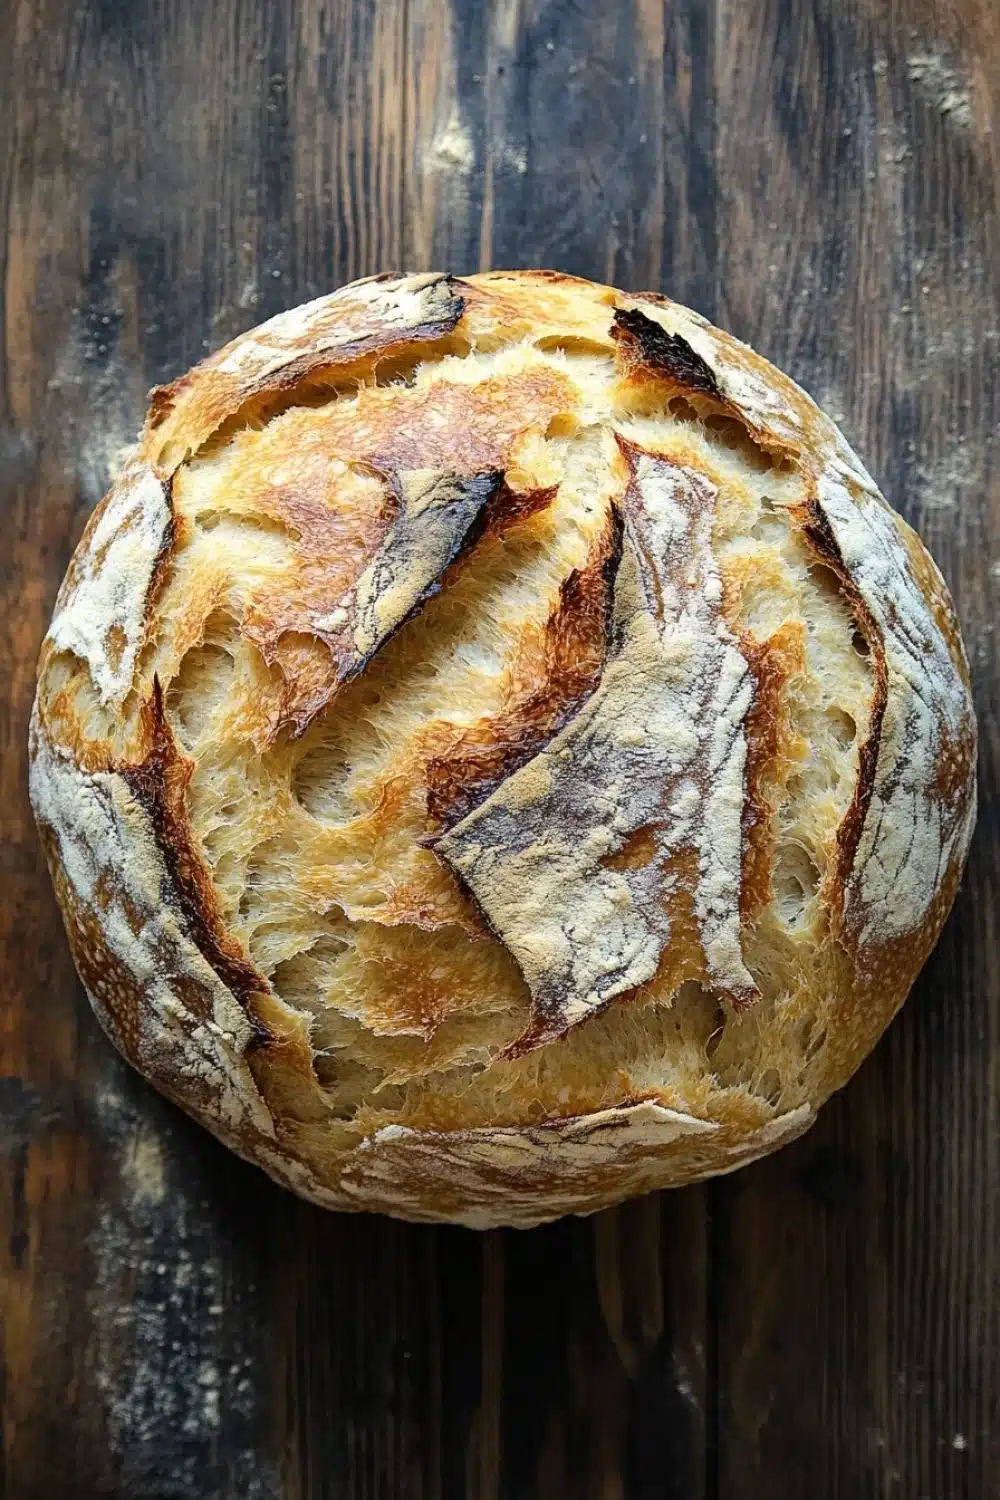
The magic happens in the Dutch oven. That heavy lid traps steam, coaxing the crust to blister into a golden, crackly masterpiece, while the inside stays pillowy soft. I remember the first time I pulled this loaf out of the oven — the aroma alone was worth the wait. It’s rustic, unpretentious, and perfect for slathering with butter or dipping into hearty stews. This bread isn’t just sustenance; it’s an experience.
So, if you want to break into artisan-style baking without breaking a sweat, this recipe is your ticket. Trust me, once you’ve nailed this, you’ll look at bread differently — no more kneading nightmares or dough drama.
If you’re looking for an easy recipe, you can’t go wrong with this no knead Dutch oven bread that’s perfect for lazy weekend mornings.
Real Life Perks of No Knead Dutch Oven Bread
- Hands-off dough: You toss everything together and let time do the magic while you binge-watch your favorite show or nap—no arm workout required.
- Crazy crust game: The Dutch oven traps steam, giving you that crackling, blistered crust that’s pure street cred in bread circles.
- Room temp rise = flexibility: No need to babysit the yeast. The slow ferment means you can shape your loaf whenever it suits your day.
- Saves cash and stress: Four simple ingredients, zero fancy gear—perfect for rookie bakers who want bakery vibes without the bakery price or hassle.
- Versatile leftovers: Wrap it up and freeze—pull slices out to toast or dunk in soup. Bread that plays nice with your meal plans, not against them.
No Knead Dutch Oven Bread
- Total Time: 12 hours
- Yield: 8 slices
Description
A simple and rustic no knead bread baked in a Dutch oven to create a crispy crust and soft, airy interior. Perfect for beginners and requires minimal hands-on time.
Ingredients
3 cups (360 grams) all-purpose flour
1/4 teaspoon instant yeast
1 1/4 teaspoons salt
1 1/2 cups (360 ml) warm water
Instructions
In a large mixing bowl, combine the flour, instant yeast, and salt. Stir to mix evenly.
Pour the warm water into the dry ingredients and stir with a wooden spoon or spatula until a shaggy, sticky dough forms.
Cover the bowl tightly with plastic wrap or a clean kitchen towel and let the dough rest at room temperature for 12 to 18 hours, until the surface is dotted with bubbles and the dough has doubled in size.
Lightly flour a work surface and turn the dough out onto it. With floured hands, fold the dough over on itself once or twice to shape it into a rough ball.
Place the dough seam side down on a large piece of parchment paper. Cover with a kitchen towel and let it rest for 1 to 2 hours, until it has nearly doubled in size again.
About 30 minutes before the dough is ready, place a 5- to 6-quart Dutch oven with its lid in the oven and preheat to 450°F (230°C).
Carefully remove the hot Dutch oven from the oven. Lift the dough using the parchment paper and place both into the Dutch oven.
Cover with the lid and bake for 30 minutes.
Remove the lid and bake for an additional 15 minutes, until the bread is deep golden brown and crusty.
Remove the bread from the Dutch oven and let it cool completely on a wire rack before slicing.
- Prep Time: 15 minutes
- Cook Time: 45 minutes
Explore more:
Baking Recipes
Mastering No Knead Dutch Oven Bread
The Magic of Minimalist Ingredients: Why Less Is More
This recipe is a classic example of how a handful of humble ingredients—flour, water, salt, and just a whisper of yeast—can lead to a loaf that punches way above its weight. Instant yeast here isn’t about rushing the process; it’s about slow, steady fermentation that lets flavors blossom while you go about your day. The hydration level—1.5 cups of water to 3 cups of flour—creates a sticky, shaggy dough that looks intimidating but is pure gold once mastered. You don’t knead because the gluten develops on its own during the long rest, making your hands much happier. Quick note: swapping all-purpose flour for bread flour gives a chewier crumb, while whole wheat will throw a nutty curveball that I adore on lazy Sunday mornings. Just remember—adjust water a touch when you change the flour, or risk ending up with dough that’s either a gooey mess or a dry brick.
Why the Dutch Oven? The Heat Trap Secret
Here’s the skinny—your Dutch oven is a homemade steam chamber, turning your humble loaf into a crust beast. Preheating that heavy pot to 450°F before slipping in the dough ensures an immediate blast of heat, creating a crust that snaps and crackles with each bite. Leave the lid on for 30 minutes—that traps steam from the dough’s moisture, preventing that crust from hardening too soon. Then, pop the lid off and let it bake an extra 15 minutes to summon that deep golden-brown armor. No Dutch oven? No problem—use a heavy oven-safe pot with a lid or cover your dough with a metal bowl and toss a pan of water at the bottom of the oven. That steam trick? Classic baker’s hack or “throwing a bone” to your bread so it bakes like it’s in a pro setup. I once forgot to preheat the pot—results? A sad, pale crust that felt like a wet sock. Lesson learned.
Rescuing Dough Disasters: When Your Bread Goes Off Script
Flopped dough? It happens. If your dough hasn’t bubbled or risen after 18 hours, your yeast might be on strike—either it was old or the water too hot (think boiling kettle, not bath temp). Don’t toss it—add a pinch more yeast, stir, and let it rest a few hours longer; patience is your friend here. Too sticky to handle? That’s the dough talking—it wants you to stop fiddling. Embrace the chaos with well-floured hands and fold gently, resisting the urge to add too much flour. Too dry and tight? Next time, up the water by a tablespoon or two—your dough should feel like a wet sponge, not a rock. And hey, if the crust burns but the inside is doughy, your oven calibration might be off or your Dutch oven too close to the top heat. Drop the rack lower or dial back the temp slightly next round. Baking bread is as much about tuning your setup as it is about the recipe—don’t sweat the slips, they’re part of the grind.
No Knead Dutch Oven Bread FAQs
- Is this bread hard to make?
- Absolutely not! The no knead Dutch oven bread is designed for folks who want fresh bread without slaving over the dough. Just mix, wait, and bake—easy peasy.
- Can I use active dry yeast instead of instant yeast?
- Yes, you can. Just proof the active dry yeast in warm water for about 5 minutes before mixing it with the flour and salt. This wakes it up and ensures your dough rises perfectly.
- Why does the dough need to rest so long?
- Patience is key here. That long, slow fermentation lets the yeast work its magic, developing flavor and creating those coveted air pockets inside the bread. It’s the reason this bread isn’t just any loaf—it’s got soul.
- Can I bake this without a Dutch oven?
- You can try, but the Dutch oven traps steam, giving the crust that unbeatable crunch. If you don’t have one, use a heavy covered pot or a baking stone with a pan of hot water to simulate the effect.
- How do I store leftover bread to keep it fresh?
- Store it in a paper bag at room temp for a couple of days—keeps the crust crisp. For longer haul, wrap tightly and freeze. Thawing at room temperature brings it back to life just right.