Sometimes, the best meals come together in the quiet moments after a long day, when you want something wholesome but without fuss. This tilapia loin air fryer recipe is exactly that kind of meal—simple, speedy, and satisfying. The air fryer does most of the work, leaving you free to breathe, set the table, or maybe even sneak a quick scroll through your phone.
I remember one evening, the kitchen window fogged slightly from the steam rising as the fish cooked. I was half distracted, trying to decide whether to start the salad or just eat the fish straight off the plate. The aroma of garlic and paprika filled the air, teasing out a little hunger before dinner even landed. The texture was spot on—flaky but still juicy, like it had been slow-cooked somehow, though it wasn’t. I hadn’t quite figured out the timing at first, flipping once somewhere between eight and ten minutes, but it all came together just right in the end.
- Light and fresh, this recipe keeps things simple with just a handful of seasonings.
- It’s quick—ready in about 15 minutes from start to finish, which is great for weeknights.
- The air fryer creates a tender, flaky texture without adding extra oil or mess.
- It’s simple—and that’s kind of the point. No complicated sauces or steps needed.
- Because the seasoning is straightforward, it pairs well with a variety of side dishes, though you might miss the depth of a more complex marinade.
Even if you’re new to air frying fish, this recipe won’t overwhelm you. It’s forgiving enough that if you’re a minute or two off on cooking times, the results still taste fresh and light.
Print
Air Fryer Tilapia Loin
- Total Time: 15 minutes
- Yield: 2
Description
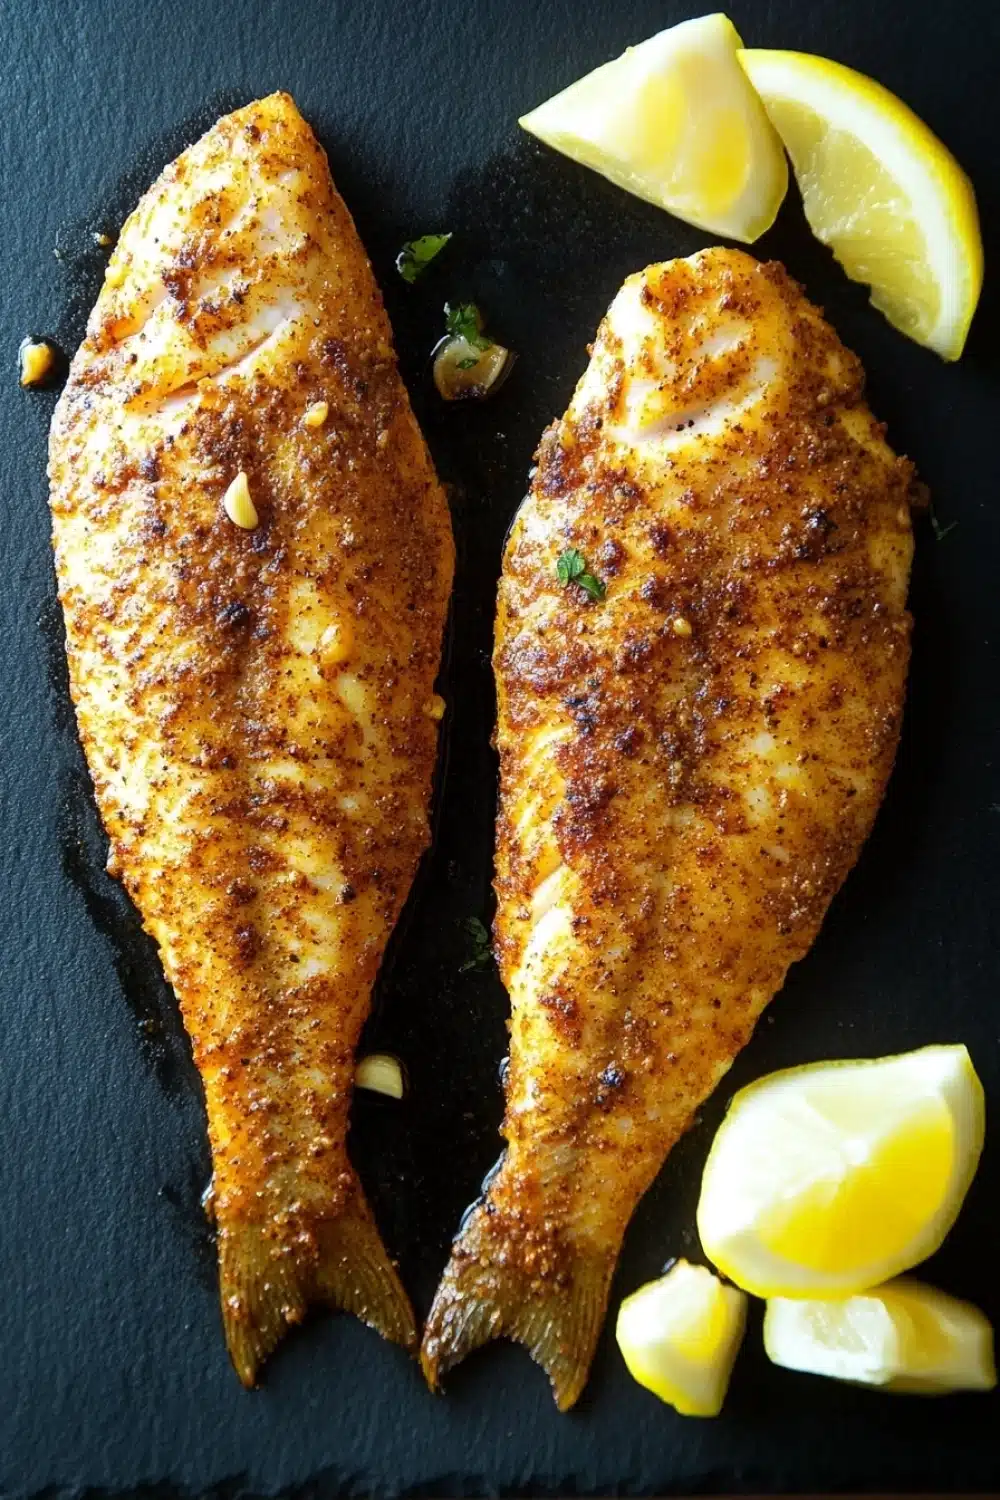
A quick and healthy recipe for perfectly cooked tilapia loin using an air fryer. This dish is seasoned simply and cooks to a tender, flaky finish in just minutes.
Ingredients
2 tilapia loins (about 4 ounces each), thawed if frozen
1 tablespoon olive oil
1/2 teaspoon garlic powder
1/2 teaspoon paprika
1/4 teaspoon salt
1/4 teaspoon black pepper
1 lemon, cut into wedges
Instructions
Preheat the air fryer to 400°F (200°C) for 3 minutes.
Pat the tilapia loins dry with paper towels.
In a small bowl, mix the olive oil, garlic powder, paprika, salt, and black pepper.
Brush the olive oil mixture evenly over both sides of each tilapia loin.
Place the tilapia loins in the air fryer basket in a single layer, ensuring they do not overlap.
Cook the tilapia in the air fryer at 400°F (200°C) for 8 to 10 minutes, flipping halfway through, until the fish flakes easily with a fork.
Remove the tilapia from the air fryer and serve immediately with lemon wedges on the side.
- Prep Time: 5 minutes
- Cook Time: 10 minutes
Using an air fryer for this tilapia loin takes away the usual worries about overcooking or drying out fish. If you don’t have a fancy gadget, a simple oven with a broiler can work, but the air fryer’s crisp finish is something else. I usually serve this with a quick side of roasted veggies or a bright salad—something crunchy to contrast the softness of the fish. Sometimes I add a squeeze of lemon right before eating, but I don’t always get around to it.
For a bit of variety, I’ve tried swapping paprika for smoked paprika or adding a pinch of cayenne for a little heat. Garlic powder can be replaced with fresh minced garlic if you’re feeling fancy, though it can burn faster, so watch it closely. Also, if you want a richer flavor, a touch of butter melted over the top after cooking does wonders, but it’s definitely not necessary.
FAQ
Can I use frozen tilapia loins? Yes, just make sure they’re fully thawed and patted dry before seasoning and cooking.
What if I don’t have an air fryer? You can bake the fish in a conventional oven at around 400°F, but the texture won’t be quite the same.
How do I know when it’s done? The fish should flake easily with a fork and be opaque all the way through.
Can I double the recipe? You can, but avoid overcrowding the air fryer basket—cook in batches if needed.
Give this tilapia loin air fryer recipe a shot next time you want a fuss-free dinner that still feels a little special. Save it, print it, or just jump right in and cook—your next quick, satisfying meal is waiting.