Sometimes the best afternoons are the ones spent with sticky fingers and a table sprinkled with powdered sugar. Making sugar cookie icing designs isn’t just about decorating—it’s about capturing a moment filled with quiet concentration and bursts of laughter. I remember the last time I tried this recipe, the kitchen was warm, the light just right, and the sound of the mixer humming was oddly comforting. At one point, I got a bit distracted by a call and accidentally added a little too much water to one batch of icing, but honestly, it still turned out beautifully imperfect.
There’s something magical about watching the glossy royal icing smooth out perfectly over the cookie’s surface, the colors blending just so as they settle into their shapes. It’s a slow, satisfying process that invites you to pause and appreciate the little details—like the way the icing holds just enough shine or how the flavors mingle subtly beneath the sweetness.
Why You’ll Love It
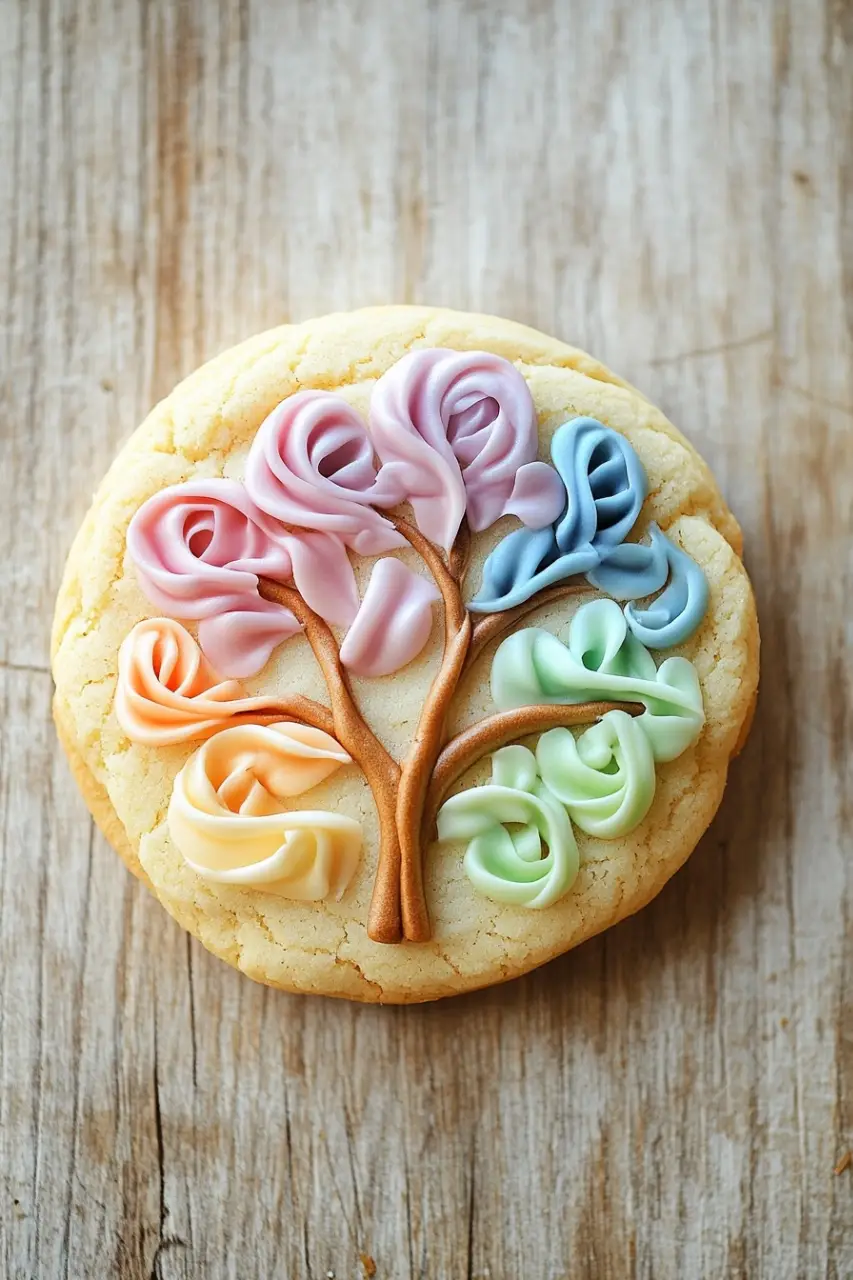
- The icing’s texture is smooth and glossy, making your designs pop with vibrant colors.
- It’s simple — and that’s kind of the point. No complicated steps, just a straightforward recipe that delivers beautiful results.
- You get to customize colors easily, so every batch feels uniquely yours.
- The recipe allows for some flexibility in consistency, so you can tailor the icing for outlining or flooding.
- Though it takes a few hours to dry, the wait makes every cookie feel like a crafted piece of art.
Don’t worry if you’re not a pro at piping or if your shapes aren’t perfectly uniform. The charm of homemade sugar cookie icing designs is in their character, not perfection.
Print
Sugar Cookie Icing Designs
- Total Time: 15 minutes
- Yield: 24 cookies
Description
Create beautiful and delicious sugar cookie icing designs with this easy royal icing recipe. Perfect for decorating sugar cookies with smooth, glossy, and vibrant colors.
Ingredients
3 cups powdered sugar, sifted
2 tablespoons meringue powder
5 tablespoons warm water
1 teaspoon vanilla extract
Gel food coloring (various colors), as needed
Instructions
In a large mixing bowl, combine the sifted powdered sugar and meringue powder.
Add the warm water and vanilla extract to the dry ingredients.
Using an electric mixer on low speed, mix the ingredients until combined, then increase to high speed and beat until stiff peaks form, about 5 to 7 minutes.
Divide the royal icing into separate small bowls depending on how many colors you want to use.
Add gel food coloring to each bowl and mix until the color is fully incorporated.
Adjust the consistency of the icing by adding a few drops of water to thin or a little powdered sugar to thicken, depending on your desired use (outline or flood).
Use the thicker icing for outlining your sugar cookies, and the thinner icing for flooding the inside of the outlines.
Decorate your sugar cookies by piping designs with the colored icings using piping bags or squeeze bottles.
Allow the decorated cookies to dry at room temperature for at least 4 hours or overnight until the icing is completely set.
- Prep Time: 15 minutes
- Cook Time: 0 minutes
Kitchen Notes
I usually just use basic piping bags or even small plastic bags with a tiny corner cut off—no fancy tools required. When serving, these sugar cookies pair wonderfully with a warm cup of tea or a cozy glass of milk. For a fun twist, I sometimes mix a drop or two of almond extract into the icing, though I haven’t tested that with every color. If you want to experiment, thinning the icing out a bit more can create delicate watercolor effects, but it can get messy quickly, so maybe try a small batch first. Also, storing leftover icing in the fridge works well, but remember to bring it back to room temperature before using—it smooths out those stubborn lumps.
FAQ
Q: How long should I let the decorated cookies dry?
A: Ideally, at least 4 hours or overnight for the icing to fully set and harden.
Q: Can I use this icing recipe for other cookies?
A: Yes, it works well for any cookie that holds its shape and can handle a bit of moisture.
Q: What if I don’t have meringue powder?
A: I haven’t tried substituting it, but it’s important for the icing’s stability and texture.
Q: How do I fix icing that’s too runny?
A: Add a little more powdered sugar to thicken it up as needed.
Give yourself permission to experiment and enjoy the process. These sugar cookie icing designs are less about flawless technique and more about the fun you have while making them. Ready to dive into a colorful baking adventure? Save this recipe and start decorating!